
Week 1 / Week 2 / Week 3 / Week 4 / Week 5 / Week 6
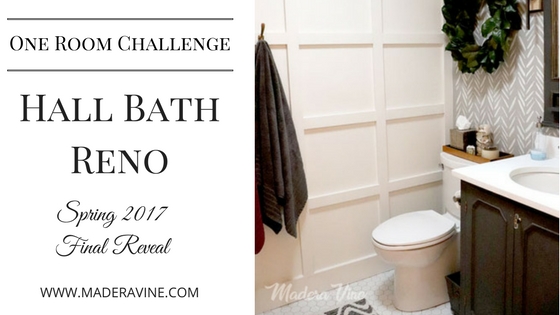
The One Room Challenge Bathroom reveal...FINALLY!
The One Room Challenge really proved to be a challenge, more so in terms of “time”. I jumped in at the last minute since I had recently learned about the challenge. I wasn’t able to line up the help we needed for the project at the beginning which required our project to go longer than other participants. The great news is…
Its DONE!
We also have had a high school graduation, family in town, travel, and I’m working on a book for my daughter that tells the story of her eighteen years with us in this world. It’s a big project! I’m about done with that too! So far, my important projects are on track. Woo hoo!
So are you ready to see this?
Let’s get to it then!
If you recall, we had a real eye sore. I was completely embarrassed to share with the world the kind of bathroom my kids and guests used for years. I didn’t realize how bad it was, but no one ever complained. For that I’m grateful. BUT I kind of wish they would have.
When I spoke to my mother-in-law about it, she smiled meekly and said,“Yeah, it was pretty bad.”
Oh well…here’s what it was. And just so you know…the theme of this Adobe Spark video is called Grunge. I selected it for a very good reason…
And now…
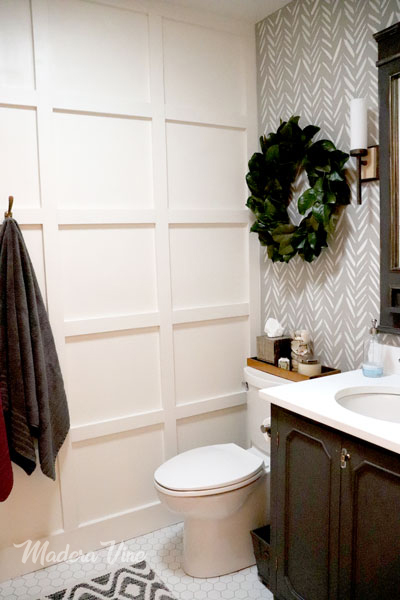
Here is what it is!
Brighter, refreshed, functional and a joy to walk into.
Here are some details.
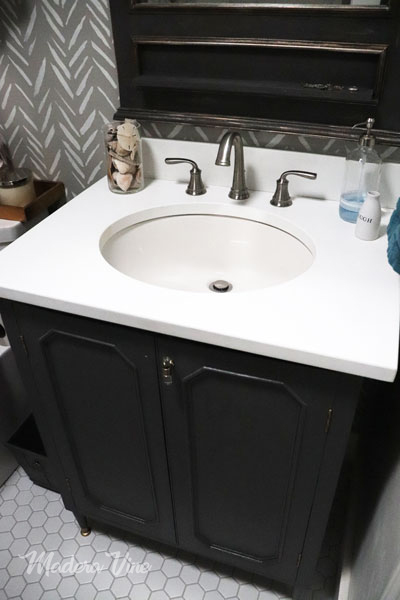
We really lucked out on the counter and sink. I found these two at local granite shop here in town in their remnant section. I was able to purchase the white quartz counter and sink for just $50, including the backsplash! I was pretty darn stoked!
Due to the depth of the cabinet, we had to cut the backsplash thickness in half and that added an additional $90 in labor. We also had to have the counter cut down to fit the vanity. Overall this remnant, after paying for the labor to cut it down and installing it ourselves, saved us about $300. Not too shabby.
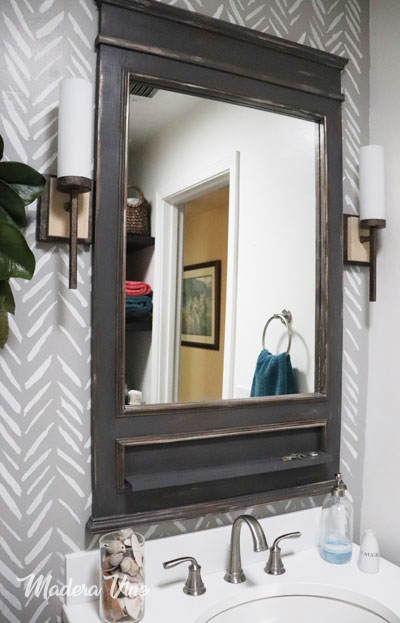
The mirror is a custom creation. I was inspired by one I found online which you can see as part of my inspiration plan in Week One. We used 1×3 white pine, molding, glue, paint and a little metallic wax. After I drew the design, we tweaked it as necessary to make it fit the space properly.

We built these shelves from 2 x 12s (white pine). I chisled each shelf to give them character and then applied two colors of stain for a weathered look. We used a Kreg Jig to hide the screws when attached to the walls.

Custom distress wood shelves.
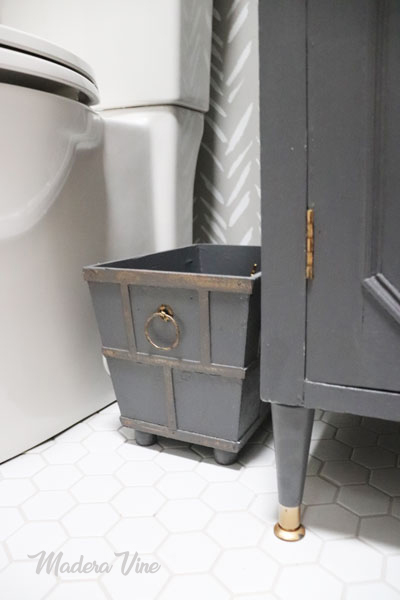
The garbage pail was a thrift store find from Goodwill. It was red and I painted it to match the vanity. I added champagne and bronze metallic wax polish to the raised areas to blend with the mirror and mixed metals in the room.
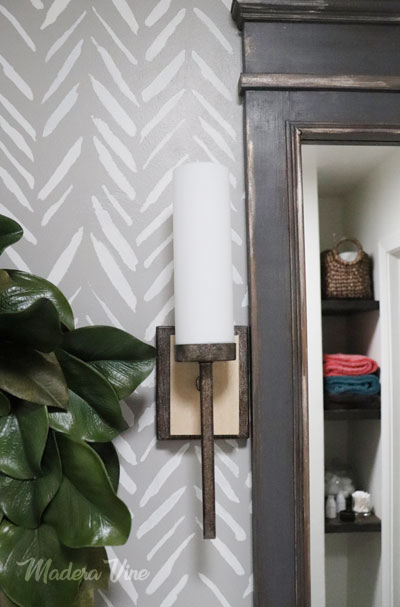
The stencil from Cutting Edge Stencils really makes the room! I love the brushstroke pattern. It gives the room an “airy” feel with a bit of sophistication. I used the white paint selected for the walls as the accent color on top of the grey.
This pattern stirred many more ideas in my head so you’ll be able to see more creations using this stencil in the near future. DIY projects are so fun!

The cabinet is an old record cabinet that we gutted, painted and attached modern legs to. I fell in love with the knobs I found at Hobby Lobby. Unfortunately, one broke and I found out they discontinued all future orders. So I’ll be hunting for replacements. Until then, we have one knob and one pre-drilled hole.

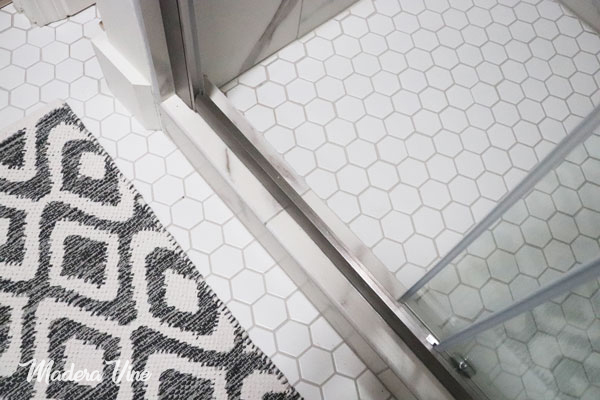
On the mosaic tile, I carried it throughout the shower and bathroom to make it look “seemless” due to the clear glass shower door. In doing so, the bathroom feels larger than it is.


The recessed shower niche is approximately 12″ H x 21″ W. After “moving back in” I would have made it a little taller due to the shampoo bottles (with pumps) my kids use. This niche was preformed so I couldn’t change it’s size. The other option…buy smaller bottles of shampoo like what you see here. BOOM! Problem solved!
The tile was “bullnosed” by my friend David at WNC Tile. He took the 12×24 tiles, cut them down, rounded the required edges and then glazed them to finish. I wanted to eliminate extra lines to keep the overall wall/pattern as simple as possible. I’m please how it turned out. What do you think?

The wainscoting won out over the ship lap. I was torn because my girls really like ship lap and they LOVE Joanna Gaines. But in the end, I chose this design because it is more in style with our Tudor home. The pattern not only added great architectural detail to the room but it also helped hide the walls imperfections. I love how it turned out! How bout you?
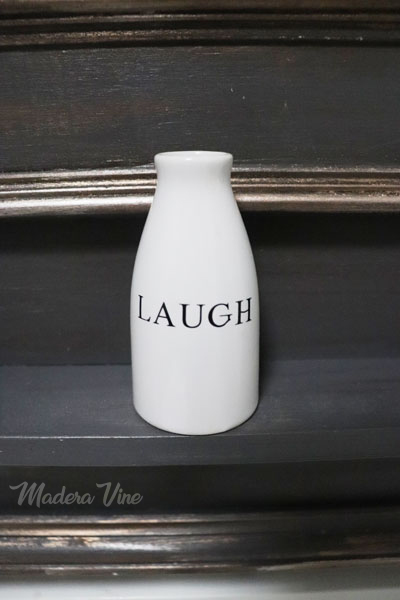
A little reminder…find something to laugh about each day.
RESOURCES:
Chesapeake Tile: Calcutta Grey Porcelain
Dreamline Infinity Shower Door
Distressed wood shelves (custom built)
Mirror (custom design by Lisa)
Vanity Cabinet: antique, repurposed
Toilet: American Standard Clean
Paint: Vanity cabinet, SW 7674 Peppercorn
Paint: Walls, Benjamin Moore White Dove OC-17
Paint: Accent Wall, Benjamin Moore Gray Huskie 1473
Final thoughts…
Now that all is done, the whole process went well, despite not getting the pocket door I longed for. It was going to be a costly investment to pull that off and I chose to use that money elsewhere…maybe for another One Room Challenge project.
The project turned out great and our family gave us a great “thumbs up” of approval.
When others love what you create it makes all the challenges worth it.Click To TweetIn addition to being grateful that the bathroom is DONE, I can’t help but share how fun it’s been to make new friends through this challenge! A virtual door was opened and it fostered the ability to meet many amazing and very talented people. Thank you to all of you who connected with me. I am excited to know you and can’t wait to see more of your work and your passions.
Thank you also to everyone who left comments on my other ORC posts. I’ve never had so many eyes on my design work before (thanks to the internet and One Room Challenge). Your encouragement and support made this project so much fun! I look forward to sharing more with you in the future. And if you asked me, “Would you do it again?” I would definitely say, “YES!”
How about this Fall?
We’ll have to wait and see because have some exciting things in the works that are taking the lead.
In case you want to reminisce about our progress, you can go back and look at where we started:
Week 1 / Week 2 / Week 3 / Week 4 / Week 5 / Week 6
So now I look forward to your comments on our final Bathroom Remodel reveal!
What do you love best about this room?
I can’t wait to hear!
Cheers to you and your beautiful homes!

No Comments